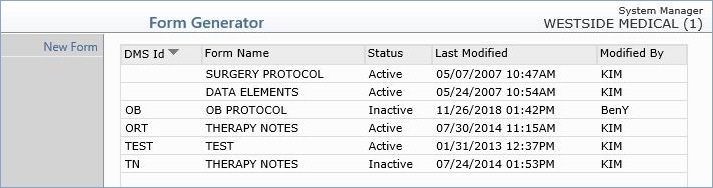
| Prompt | Response | Req | Len |
|---|---|---|---|
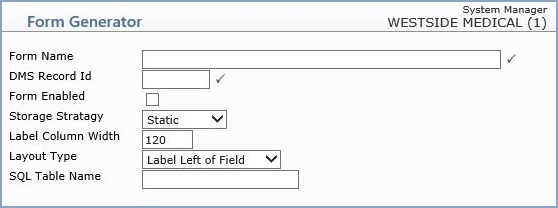
| Form Name | Type the full name of this custom form. |  |
1 |
| DMS Record Id | Type a brief description that will display as the DMS Record ID name. | |
60 |
| Form Enabled | If you want this form to be available in the DMS Records in Change Patient Data, select this check box. | 60 | |
| Storage Strategy | Select a method for this form to be stored. Static - This option stores as one static form that you can go in and edit as needed. Sequential - This option stores the entries on this DMS record in the order that they are created. Historical - This option stores the entries on this DMS record by the date you manually enter on the record. |
1 | |
| Label Column Width | Type the number of characters you want available for the label/name of the fields. | 4 | |
| Layout Type | Select where you would like the labels to display on the form; either to the left of the field, or above the field. | 1 | |
| SQL Table Name | Type the name to use as the SQL table name where the form data is stored, if applicable. | 20 |
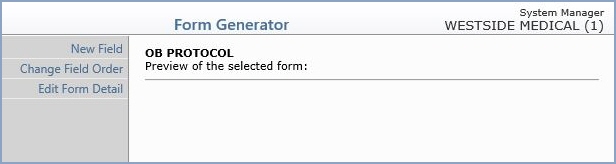
| Prompt | Response | Req | Len |
|---|---|---|---|
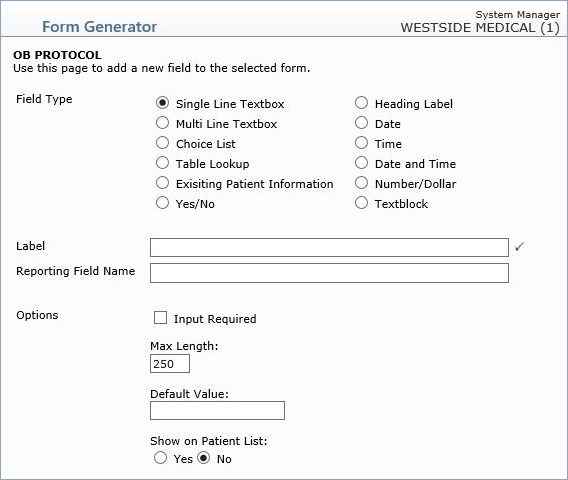
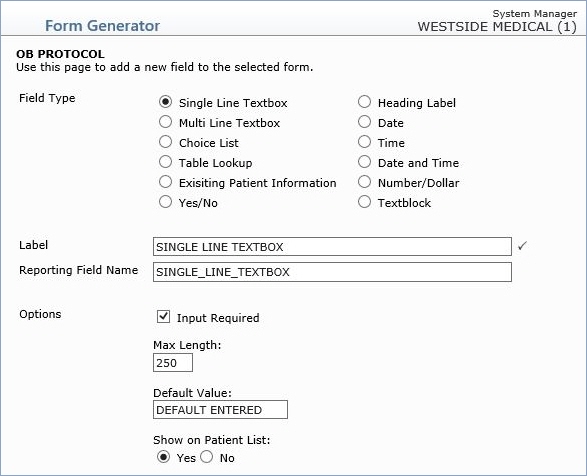
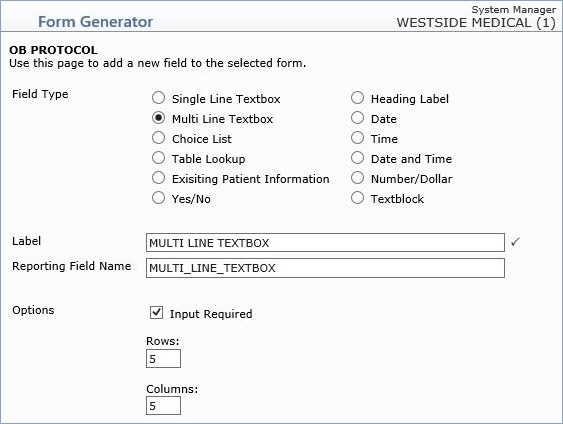
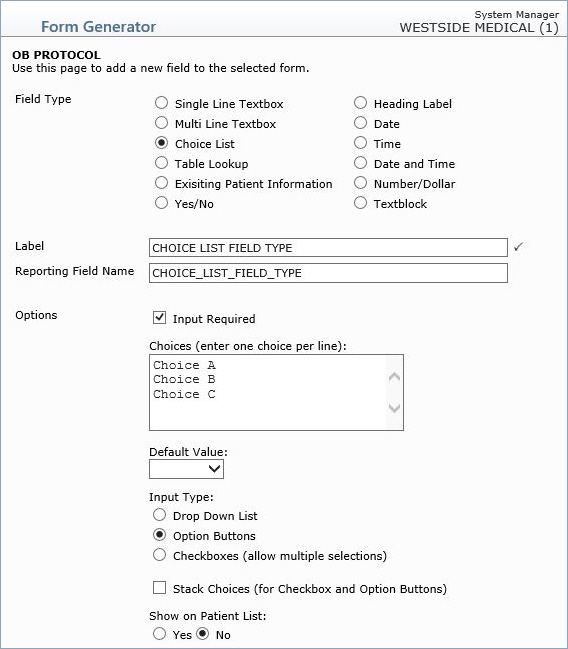
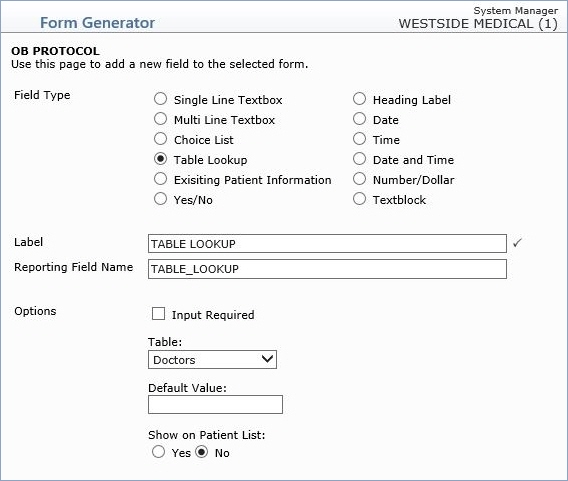
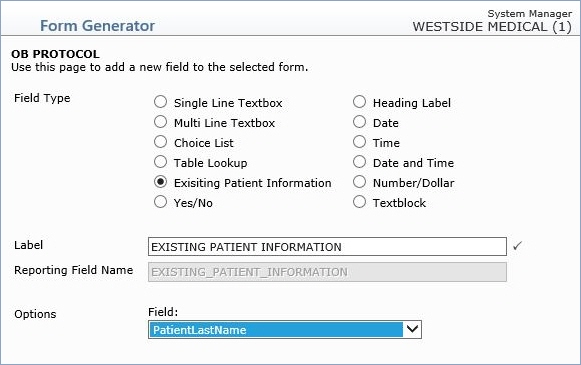
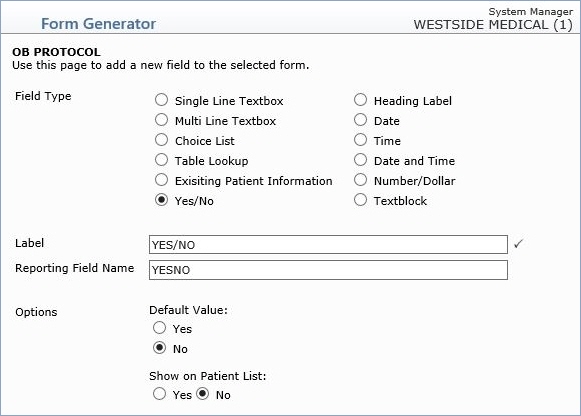
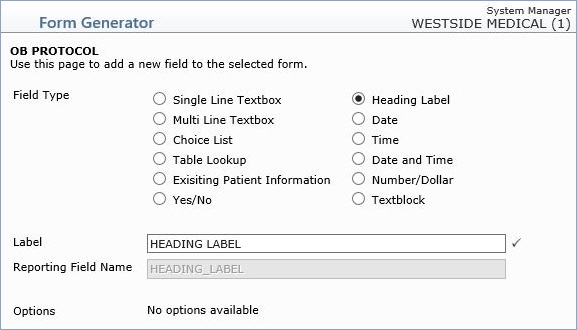
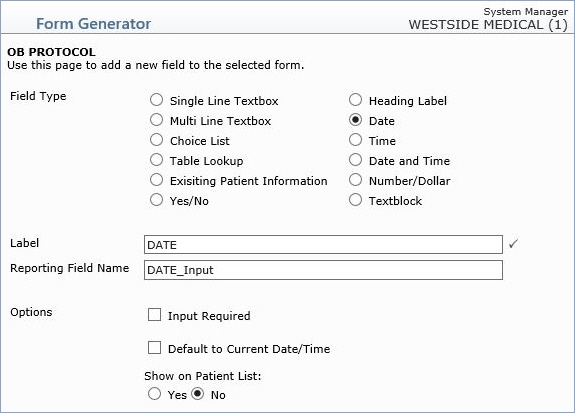
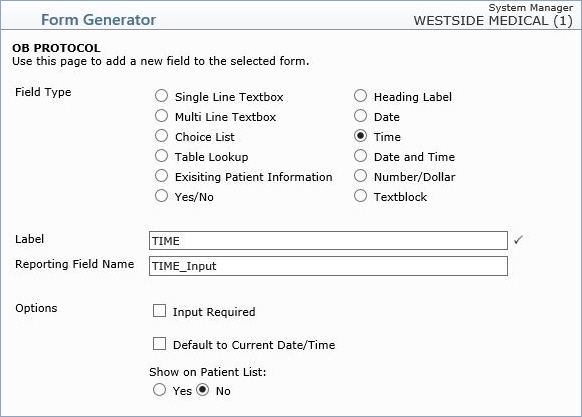
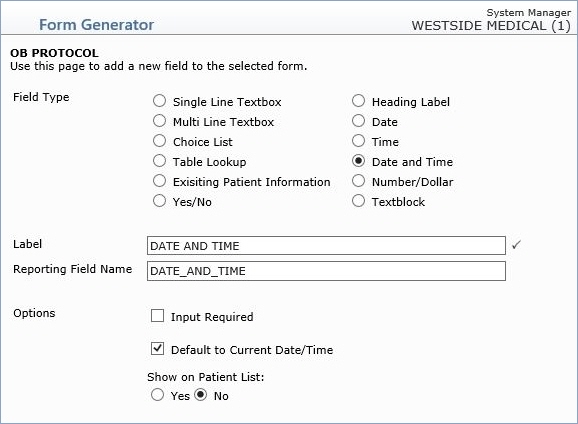
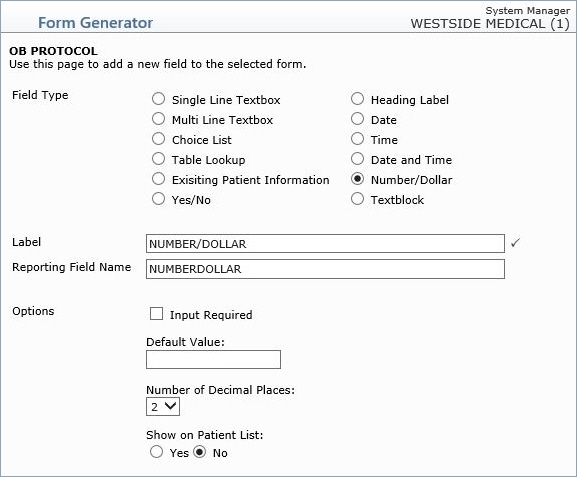
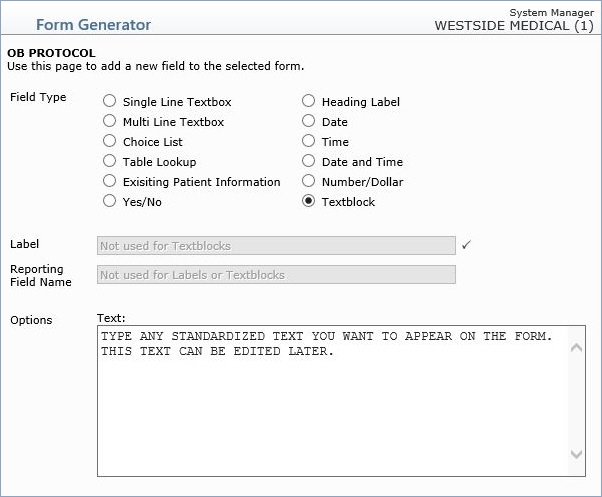
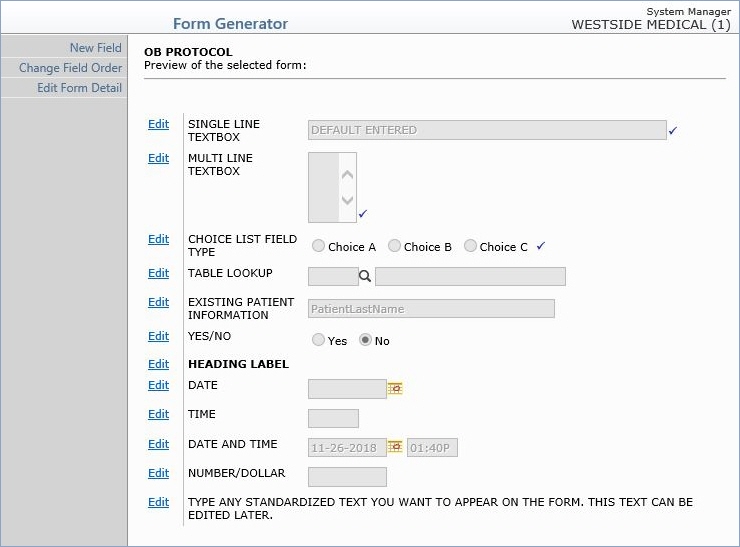
| Field Type | Select the option for the type of field you want to insert in the form. After you select an option, the screen will refresh with the necessary fields for this option under the Options section. | 1 | |
| Label | Type the name of the field as it will appear on the form. | |
|
| Reporting Field Name | This field will default with the name you type in the Label field. | ||
| Options | This section will provide all the options necessary for the selected Field Type option. |
Copyright and Trademark Notice. Copyright © 2019 CompuGroup Medical, Inc. CGM®, CompuGroup Medical® and the CGM logo are registered trademarks and CGM webPRACTICE™ and CGM webTOOLS™ are trademarks of CompuGroup Medical AG in the United States and/or other countries. Any rights not expressly granted herein are reserved.