![]()

| Prompt | Response | Req | Len |
|---|---|---|---|
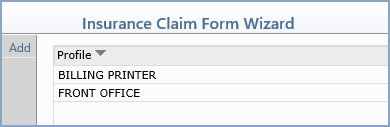
| Profile Name | Type the name of the printer profile you want to add. |  |
49 |

Copyright and Trademark Notice. Copyright © 2019 CompuGroup Medical, Inc. CGM®, CompuGroup Medical® and the CGM logo are registered trademarks and CGM webPRACTICE™ and CGM webTOOLS™ are trademarks of CompuGroup Medical AG in the United States and/or other countries. Any rights not expressly granted herein are reserved.
