Import and Post ERA Files
With the Import and Post ERA Files function you can import, convert,
and print electronic remittance files.
Upon accessing this function, the system automatically checks to see if
any new files are available to be imported from the Import
Path stored in the ERA Integration
Setup function and from eMEDIX. When the screen displays it will list
all the files that have been imported.
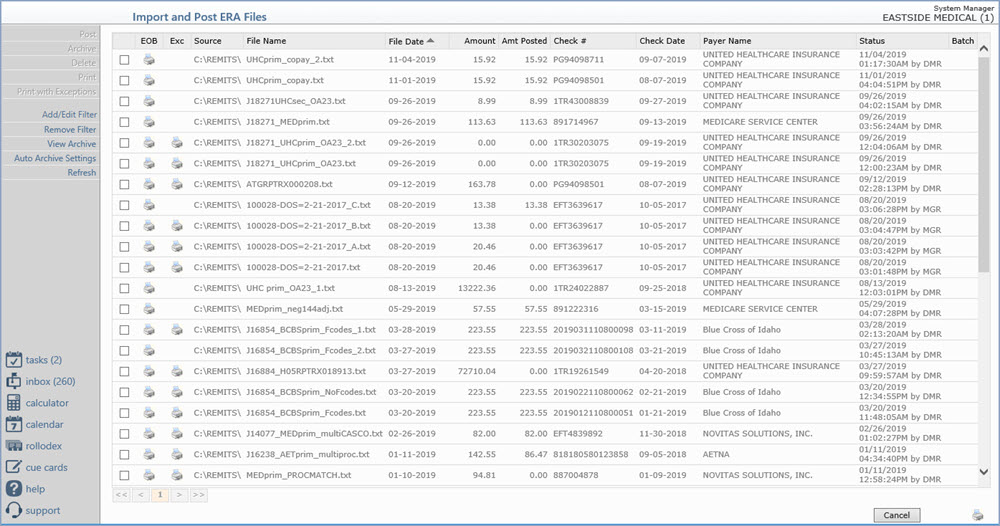
Select the ERA file you want to process by selecting
the check box for the row containing the ERA information. After you select
the check box, the Action Column buttons will become active so you can
print the EOB.

There are occasions when the ERA file that was imported
is corrupt. If this is the case, you will have to download the file again.
You will receive a message indicating the file is corrupt.

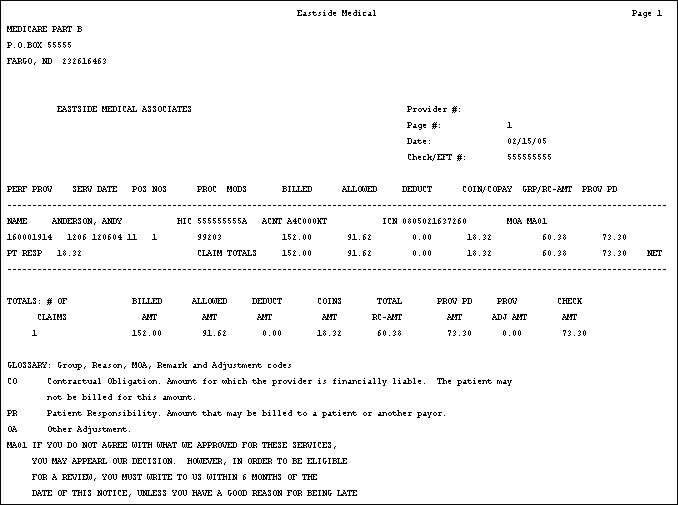
Sample EOB
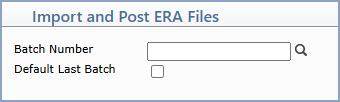
After you have printed the EOB, click the Post
Action Column button. Enter the Batch
Number and select to Default the
Last Batch if applicable. Click Save.
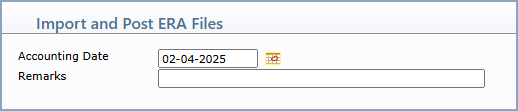
Next, select the Accounting
Date you want and enter any Remarks.
Click Save.
After the payments have posted, you will want to print
the Payments Exception report by clicking the printer icon in the EXC column for the row containing
the ERA information, so you can resolve any issues and manually post the
excepted payments.
See the full list of the ERA
Payment Exception Messages, for assistance with resolving the issues.
