![]()
Upload Images
1. On
the System
menu, click
Image Management, and then click
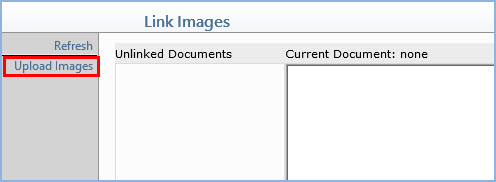
Link Images.
2. In the Action Column, click Upload
Images.
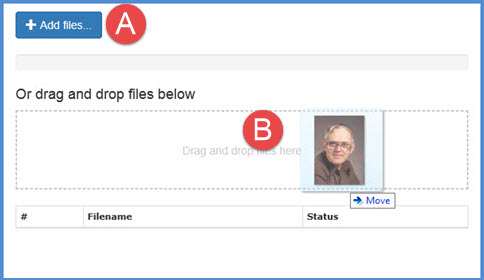
3. When the File Upload dialog box displays, you have two options:
Click Add Files, navigate to the folder where the scanned image(s) is stored, select the image(s) you want and click Open.
Open Windows Explorer, navigate to the folder where the scanned image(s) is stored, select the image(s) you want, drag and drop the selected image(s) onto the File Upload dialog box.
Note: The image size is limited to 30MB.
4. Check the file upload Status in the bottom portion of the File Upload dialog box to confirm the files successfully uploaded.
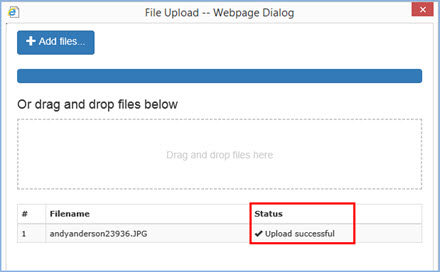
5. Click Close to return to the Link Images screen.
Linking an Image to a Patient Account
1. Access the Link Images function.
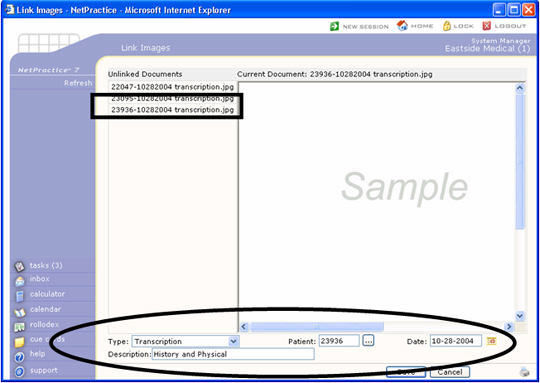
2. In the Unlinked Documents column, click the image you want.
3. Select the image type from the Type list.
4. In the Patient box, type the patient account number you want
or click the ellipsis button to search for the account number.
5. In the Date box, type the date you want or click the calendar
icon to select a date.
6. In the Description box, type the image description.
7. Click Save.
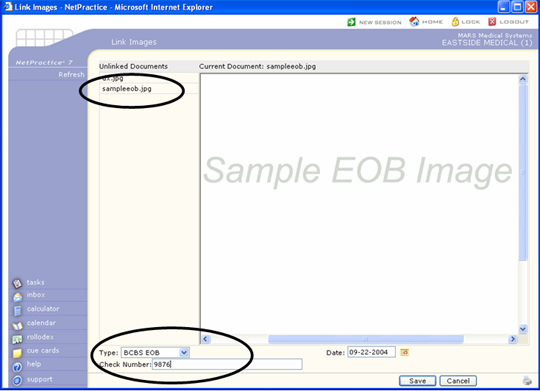
Linking an EOB Image
1. Access the Link Images function.
2. In the Unlinked Documents column, click the image you want.
3. Select the image type from the Type list.
4. In the Check Number box, type the check number.
5. In the Date box, type the date you want or click the calendar
icon to select a date.
6. Click Save.
Copyright and Trademark Notice. Copyright © 2019 CompuGroup Medical, Inc. CGM®, CompuGroup Medical® and the CGM logo are registered trademarks and CGM webPRACTICE™ and CGM webTOOLS™ are trademarks of CompuGroup Medical AG in the United States and/or other countries. Any rights not expressly granted herein are reserved.
