![]()
| Prompt | Response | Req | Len |
|---|---|---|---|
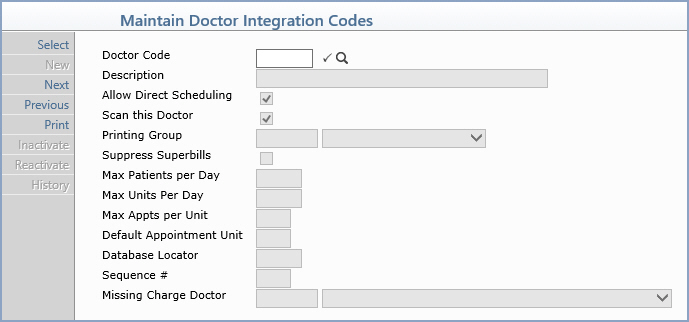
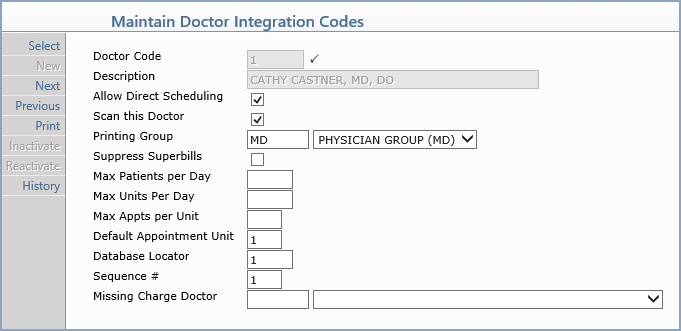
| Doctor Code | Type an existing doctor code or click the magnifying glass to search the table. |  |
4 |
| Description | This field is informational only and displays the existing description for the doctor code. | 40 | |
| Allow Direct Scheduling | If appointments can be scheduled directly into the schedule for this doctor code, select this check box. If this doctor code represents a Room or a Resource and you do NOT want appointments scheduled directly into the schedule, clear this check box. | |
1 |
| Scan this Doctor | If you want to include this doctor code when scanning for appointments, select this check box. | |
1 |
| Printing Group | If you want to include this doctor code in a printing group to use when printing superbills, type the Printing Group code or select from the Printing Group list. | 5 | |
| Suppress Superbills | If you want to suppress superbills from printing for this doctor, select this check box. | |
1 |
| Max Patients per Day | Type the maximum number of patients that can be scheduled for this doctor code in a day. | 3 | |
| Max Units Per Day | Type the maximum number of units that
can be scheduled for this doctor code in a day.
When viewing a schedule, the total number of units scheduled for the doctor for a day will display at the top of the schedule view. The total number of units displays in red font to indicate when the Max Units Per Day for the Doctor has been exceeded. |
3 | |
| Max Appts per Unit | Type the maximum number of appointments that can be scheduled per unit for this doctor code. | 3 | |
| Default Appointment Unit | Type the default number of units for an appointment for this doctor code. | 3 | |
| Database Locator | If your practice has multiple databases, type the database number ONLY if you want to automatically switch databases for this doctor. | 3 | |
| Sequence # | Type the sequence number you want to assign that controls the order schedules are displayed in the Enter Patient Appointments function. | 2 | |
| Missing Charge Doctor | If you use more than one code for this
doctor, type the code or select from the list to link an additional
code to this doctor to use in the Missing Charge Report. For example, if you use one doctor code for scheduling and a different doctor code for posting charges, you can link the two codes here and the Missing Charge Report will search for and include both codes. |
5 |
Copyright and Trademark Notice. Copyright © 2019 CompuGroup Medical, Inc. CGM®, CompuGroup Medical® and the CGM logo are registered trademarks and CGM webPRACTICE™ and CGM webTOOLS™ are trademarks of CompuGroup Medical AG in the United States and/or other countries. Any rights not expressly granted herein are reserved.
