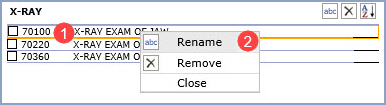
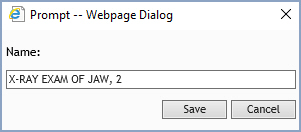
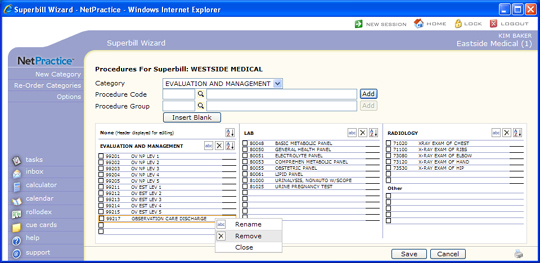
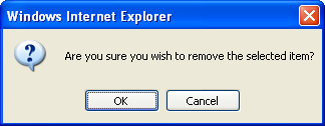
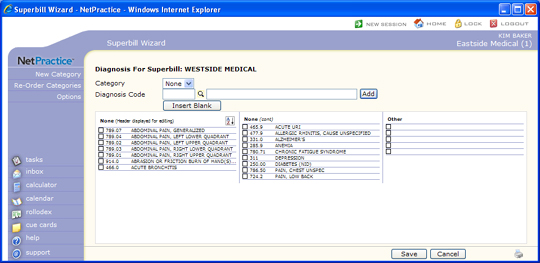
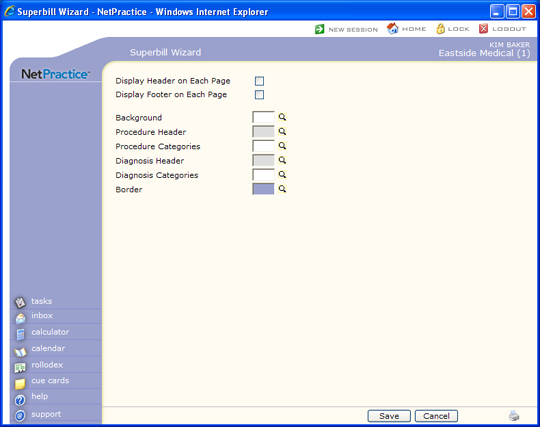
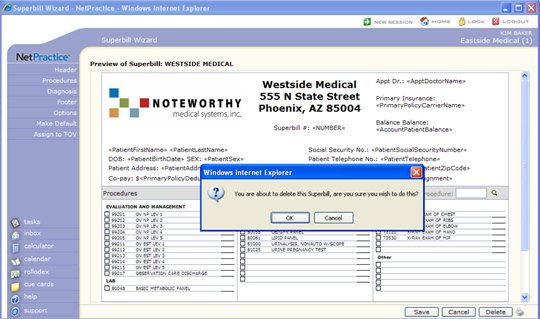
![]()

| Prompt | Response | Req | Len |
|---|---|---|---|
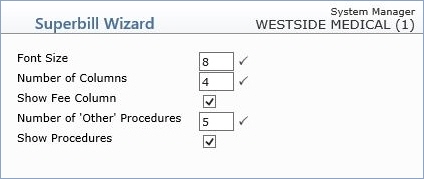
| Font Size | Type the font size you want to use in the Procedures section. The default is set at eight. |  |
2 |
| Number of Columns | Type the number of columns you want to use in the Procedures section. The default is four columns. | |
2 |
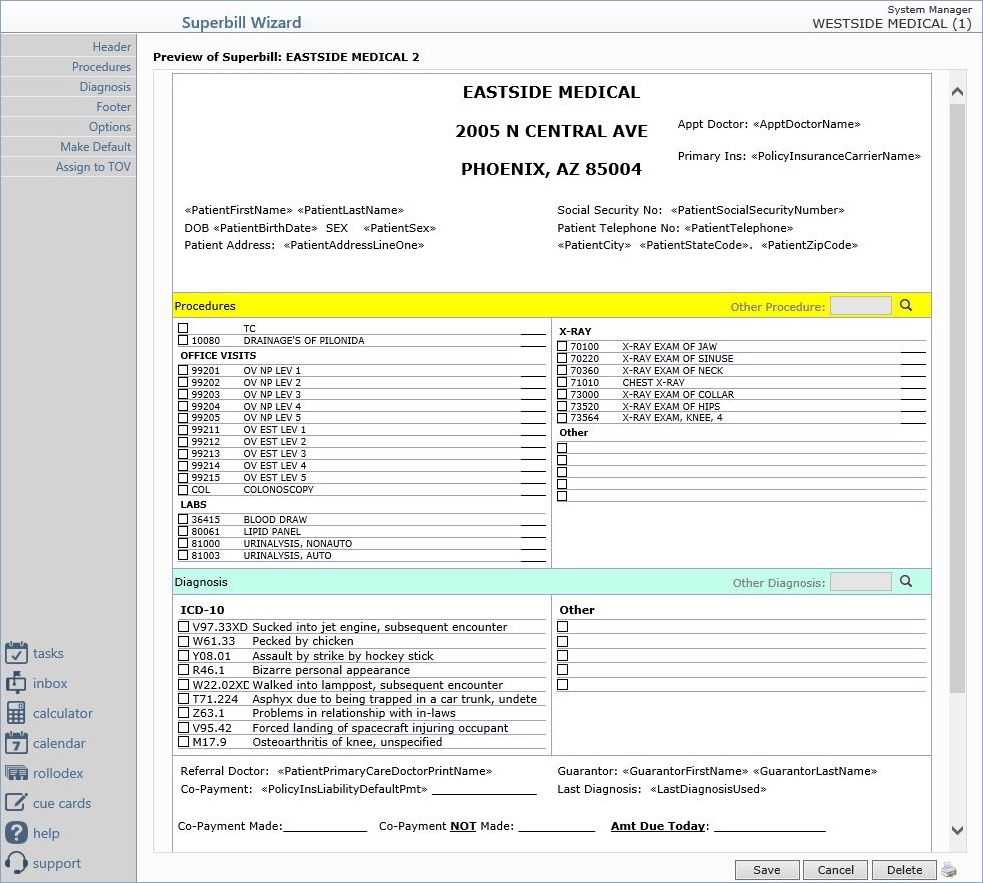
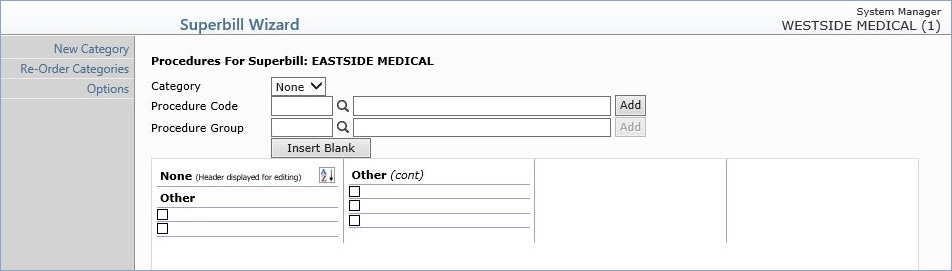
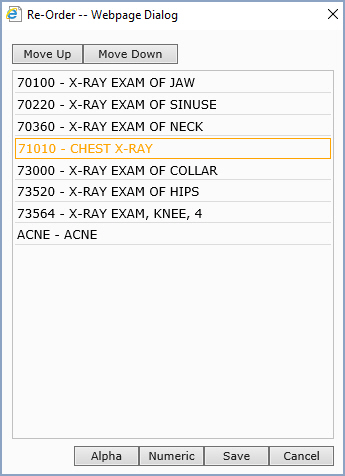
| Show Fee Column | If you want a Fee column to appear on the superbill, select this check box. This column will display the charge amount for every procedure selected. If there are multiple units entered for a procedure, it will be automatically calculated in the fee column. | 1 | |
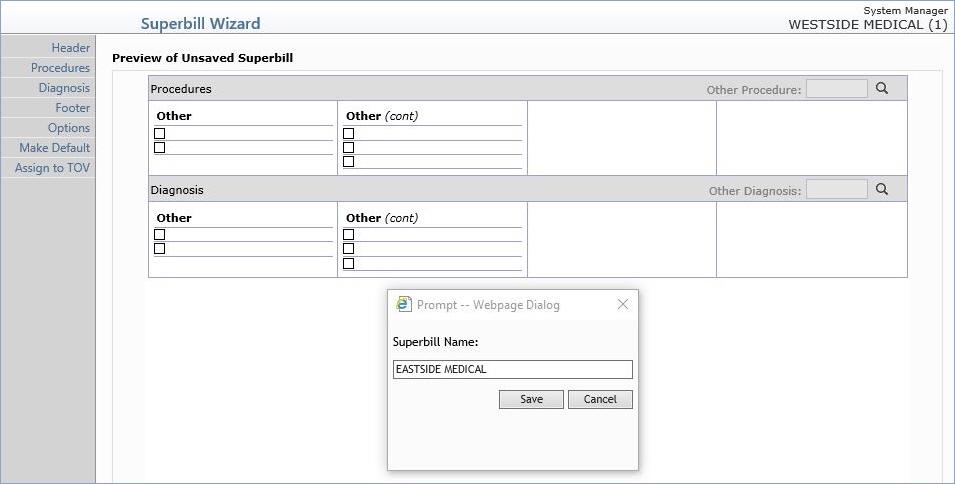
| Number of 'Other' Procedures | Type the number of blank lines you want to appear in the 'Other' category. The default is five blank lines. This is where you can manually add non-standard procedures. | |
2 |
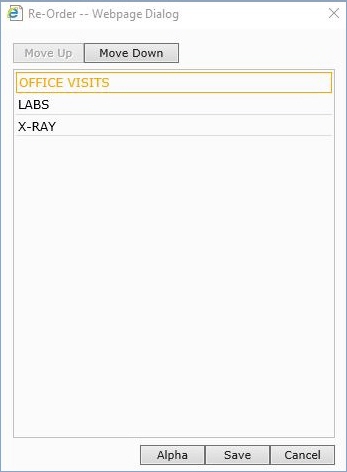
| Show Procedures | If you want the Procedures section to show on the superbill, select this check box. If you want to create a superbill without the Procedures section and heading clear this check box. | 1 |


| Prompt | Response | Req | Len |
|---|---|---|---|
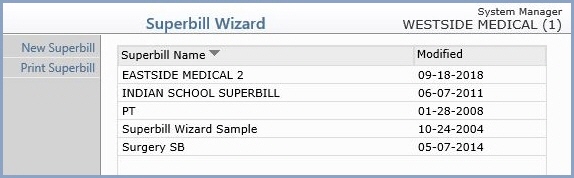
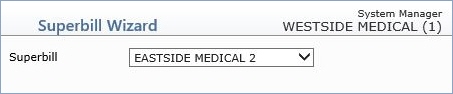
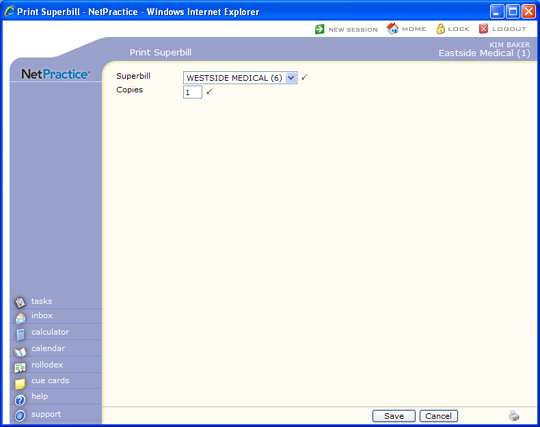
| Superbill | Select the superbill you want to print from the Superbill list. | |
10 |
| Copies | Type the number of copies you want to print of the superbill. | |
2 |
Copyright and Trademark Notice. Copyright © 2019 CompuGroup Medical, Inc. CGM®, CompuGroup Medical® and the CGM logo are registered trademarks and CGM webPRACTICE™ and CGM webTOOLS™ are trademarks of CompuGroup Medical AG in the United States and/or other countries. Any rights not expressly granted herein are reserved.
