Images
With the Images function you can scan, save, replace, delete, or
review the various types of images stored on a patient account. For information
about scanning and saving images, see Image
Scanning or Image Management.
Upon accessing this function, any images saved on the patient account are
accessible. You can expand or collapse each image section by clicking
the arrow located at the far right of the section header row. You can
also click Expand All in the Action Column to open all of the sections
at once.
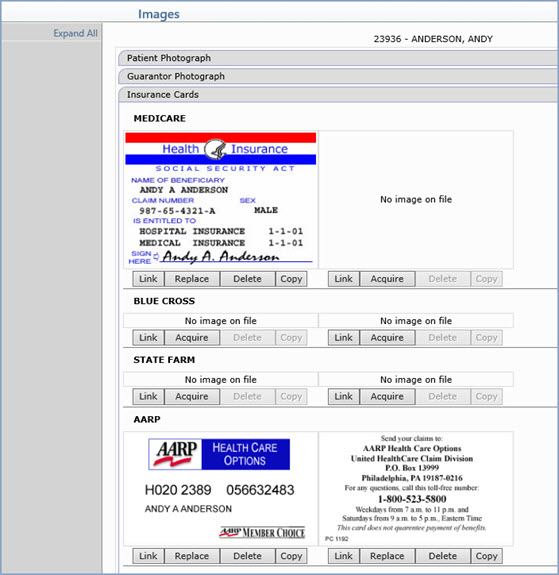
After a section is expanded, you can Acquire, Link, Replace, Delete,
and Copy images. For information about acquiring and linking images,
see Image Scanning or Image
Management.
Click Replace under the image you want to replace.
The Acquire Image window displays and you can scan or attach a new image
which replaces the older image.
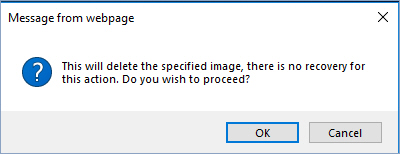
Click Delete under the image you want to delete.
A message displays to inform you that the image cannot be retrieved after
it is deleted and to let you confirm the deletion.
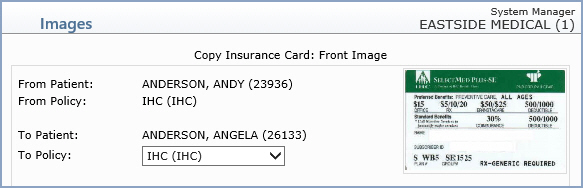
Click Copy under the image you want to copy to
another patient account. Select the account you want to copy the image
to from the Patient Look-up screen. An Images screen displays showing
which image will be copied, from which account and to which account. In
the case of copying an insurance card, you can select which policy you
would like the image to copy to.
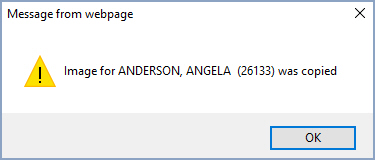
A message displays to inform you whether or not the image
was copied successfully.
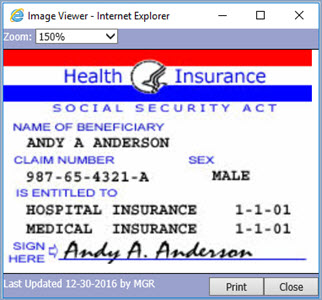
You can click on any image saved on the account to view
it in various sizes. A new Image Viewer window appears containing the
image. You can select percentages in the Zoom list to zoom in and out
as needed. You can also click Print to print a copy of the image
at the currently selected percentage.
The Image Management section contains the practice-defined folders that
you may have created in Maintain
Image Types. It also contains the following CGM webPRACTICE image
type folders:
- Collection Letters (if using DMS letters)
- Eligibility (if using CGM webVERIFY)
- Statements (if using electronic patient statements)
- Superbills (if using electronic superbills)
- E-mail (if sending new patient e-mail messages - see E-mail
Integration)
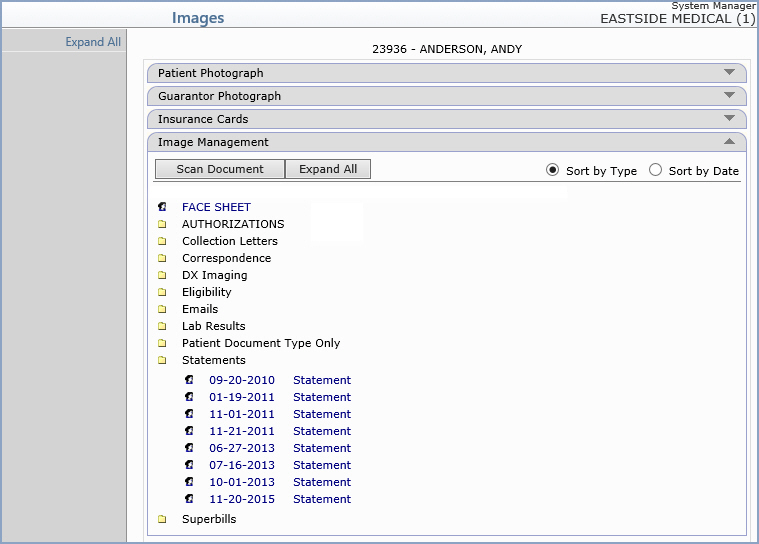
You can select the order to display the image type folders
by selecting Sort by Type or Sort by Date. You can review
a listing of the images contained in a folder by expanding it. To expand
a folder, click the folder description. You can review any image in the
list by clicking the image name. When you are done reviewing images, you
can collapse the folder list by clicking the folder description. Click
Expand All to expand all of the folders at once.
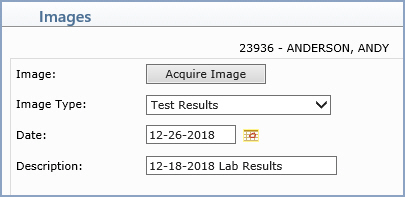
You can scan and save images for any of the existing practice-defined image
types by clicking Scan Document. When the Images window displays,
click Acquire Image. For detailed instructions on acquiring images,
see Image Scanning.
Data Field Information

To delete images in any of the practice-defined image type folders, you
must use the View Images function.