![]()
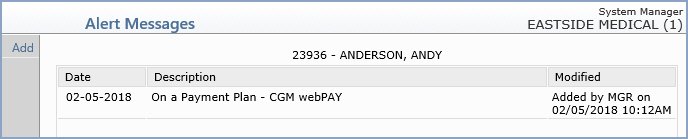
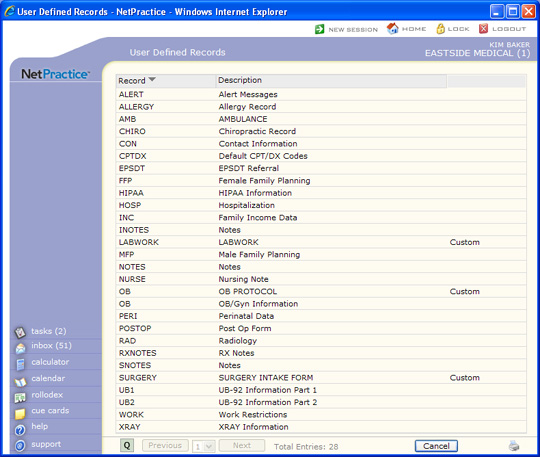
The following records are automatically available:

| Prompt | Response | Req | Len |
|---|---|---|---|
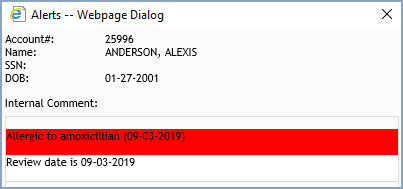
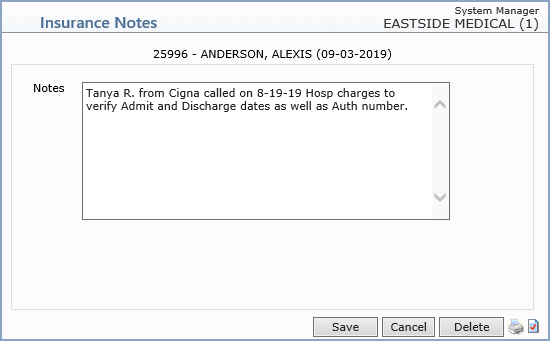
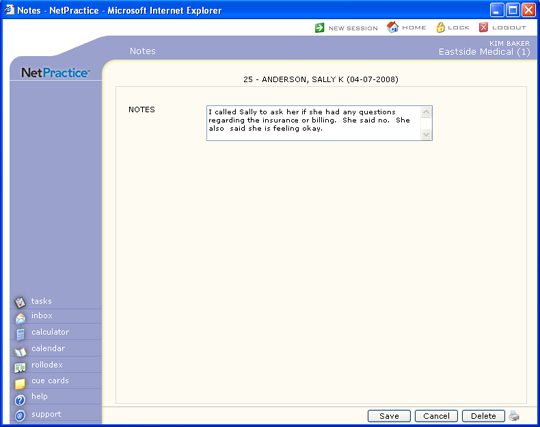
| NOTES | Type the alert message that you want displayed when a patient account is selected. |  |
60*4 |
| All Functions | If you want this alert to display when a patient is selected using Patient Look-up in all functions, select this checkbox. | 1 | |
| Patient | If you want this alert to display when a patient is selected in the Patient functions, select this check box. | 1 | |
| Limited Schedule | If you want this alert to display when a patient is selected using Patient Look-up in the Schedule functions, select this check box. | 1 | |
| Expanded Schedule | If you want this alert to display when a patient is selected using Patient Look-up in the schedule function,select this check box. | 1 | |
| Transactions | If you want this alert to display when a patient is selected using Patient Look-up in the Transactions functions, select this checkbox. | 1 | |
| Billing | If you want this alert to display when a patient is selected using Patient Look-up in the Billing functions, select this checkbox. | 1 | |
| Collections | If you want this alert to display when a patient is selected using Patient Look-up in the Collections functions, select this checkbox. | 1 | |
| Managed Care | If you want this alert to display when a patient is selected using Patient Look-up in the Managed Care functions, select this checkbox. | 1 | |
| Rx Management | If you want this alert to display when a patient is selected using Patient Look-up in the Rx Management functions, select this checkbox. | 1 | |
| System | If you want this alert to display when a patient is selected using Patient Look-up in the System functions, select this checkbox. | 1 |

| Prompt | Response | Req | Len |
|---|---|---|---|
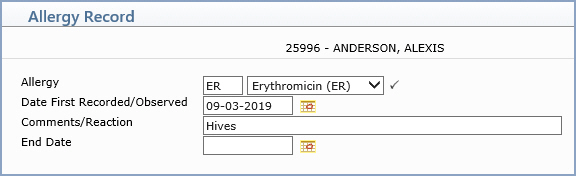
| Allergy | Type the code you want or select from the Allergy list. | |
1 |
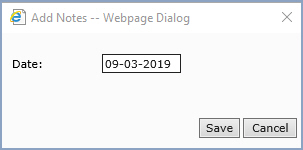
| Date First Recorded/Observed | Type the date you want or click the calendar icon to select a date. | 10 | |
| Comments/Reaction | Type any comments or description of the allergic reaction. | 50 | |
| End Date | Type the date you want or click the calendar icon to select a date. This date represents the date that the patient no longer has the allergic reaction. | 10 |
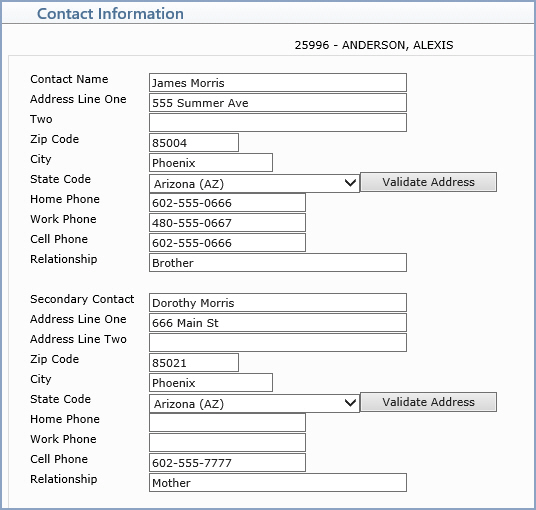
| Prompt | Response | Req | Len |
|---|---|---|---|
| Contact Name | Type the primary contacts first and last name. | 35 | |
| Address Line One | Type the address for this contact. | 35 | |
| Two | Type any additional address information. | 35 | |
| Zip Code | Type the five digit zip code or the zip-plus-four, including the dash, for this contact. | 10 | |
| City | Type the city for this contact. | 15 | |
| State Code | Type the two digit state code for this contact. | 3 | |
| Home Phone | Type the phone number for this contact, if different from the patient's. | 20 | |
| Work Phone | Type the work phone number for this contact. | 20 | |
| Cell Phone | Type the cell or other phone number for this contact. | 20 | |
| Relationship | Type the relationship of this contact to the patient. | 35 | |
| Secondary Contact | Type the secondary contacts first and last name. | 35 | |
| Address Line One | Type the address for this contact. | 35 | |
| Address Line Two | Type any additional address information. | 35 | |
| Zip Code | Type the five digit zip code or the zip-plus-four, including the dash for this contact. | 10 | |
| City | Type the city for this contact. | 15 | |
| State Code | Type the two dig it state code for this contact. | 3 | |
| Home Phone | Type the phone number for this contact, if different from the patient's. | 20 | |
| Work Phone | Type the work phone number for this contact. | 20 | |
| Cell Phone | Type the cell or other phone number for this contact. | 20 | |
| Relationship | Type the relationship of this contact to the patient. | 35 |
Click Validate Address to convert the address entered into the standard United States Postal Service format. The Address Line One will be converted; the information in Address Line Two (if standard) moves up to the end of Address Line One; the Zip Code is converted to Zip+4 and the City and State are converted based on the Zip Code. If a standard match cannot be found, messages display to explain. If you disagree with the converted address, you can change it back and save it without the validation changes. These changes will prevent claims from being rejected or added to the Exception report due to an invalid address or state code.

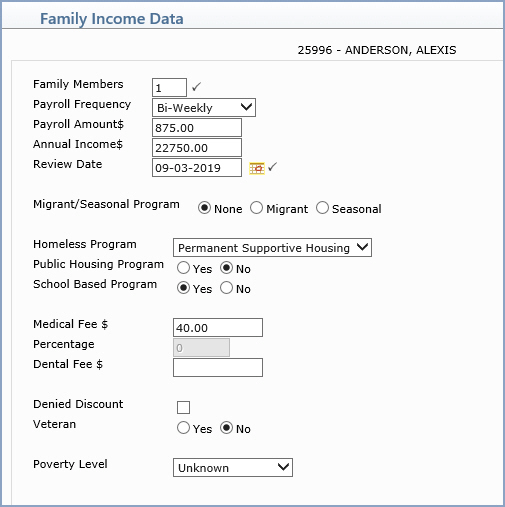
| Prompt | Response | Req | Len |
|---|---|---|---|
| Family Members | Type the number of individuals in this family. | |
2 |
| Payroll Frequency | Select the payroll frequency from the Payroll Frequency list. | 1 | |
| Payroll Amount$ | Type the amount of each payroll. | 10 | |
| Annual Income$ | Type the annual income of the family. This field will default with the annual income based on the amounts you typed in the Payroll Frequency and Payroll Amount fields. | 10 | |
| Review Date | Type the date you want to review this data or click the calendar icon to select a date. The Review Date allows you to track which patients need to have their income reviewed. This Review Date shows as an Alert on the patients account thirty days prior to the actual date entered. This alerts the clinic if this patient makes an appointment or comes in for services. Updated financial information can be obtained at that time. | |
10 |
| Migrant/Seasonal Program | For UDS Reporting, select the Migrant/Seasonal worker status option. | 1 | |
| Homeless Program | For UDS Reporting, select the homeless status from the Homeless Program list. | 1 | |
| Public Housing Program | If this family is enrolled in a Public Housing Program, select this check box. | 1 | |
| School Based Program | If this family is enrolled in a School Based Program, select this check box. | 1 | |
| Medical Fee $ | Some clinics have minimum amounts they
want collected even if the family is at 100% poverty level. If
your practice varies its flat fees by family, type the flat fee
amount for medical services for this family, if applicable. (If
your practice charges the same flat fee for everyone, type the
flat fee in the Medical Fee $ field in the UDS Integration function
{Reports, UDS Reports}). These fields also depend on how you chose to set up the order hierarchy with the Nominal Fee $ field in the Type of Service Table and in the Procedure Code Table at the time of installation. |
10 | |
| Percentage | After you save and go back into the Family Income Data screen, this field defaults with the amount stored in the Disc Percent field in Maintain Income Based Fees (Tables, Fee Schedule Table), based on where the Annual Income$ falls within the Min Income and Max Income range. | 5 | |
| Dental Fee $ | Some clinics have minimum amounts they
want collected even if the family is at 100% poverty level. If
your practice varies its flat fees by family, type the flat fee
amount for dental services for this family, if applicable. (If
your practice charges the same flat fee for everyone, type the
flat fee in the Dental Fee $ field in the UDS Integration function
{Reports, UDS Reports}). These fields also depend on how you chose to set up the order hierarchy with the Nominal Fee $ field in the Type of Service Table and in the Procedure Code Table at the time of installation. |
10 | |
| Denied Discount | If the patient's income is undeclared, select this check box. | 1 | |
| Veteran | If a family member is a veteran, select this check box. | 1 | |
| Poverty Level | If you want to force this patient into a poverty level, A for highest level. | 1 |
| Prompt | Response | Req | Len |
|---|---|---|---|
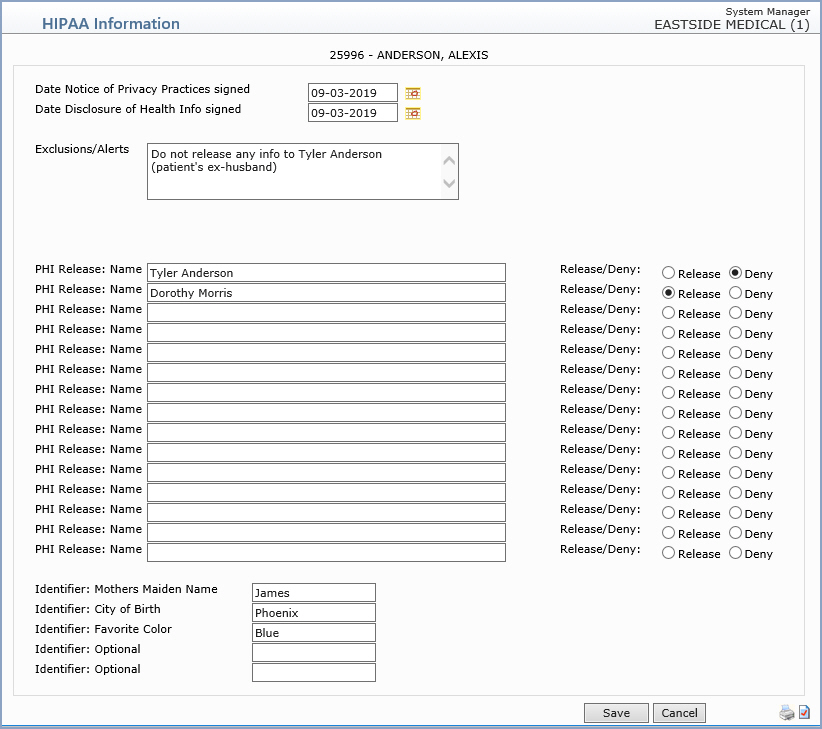
| Date Notice of Privacy Practices signed | Type the date the patient signed this document or click the calendar icon to select a date. | 10 | |
| Date Disclosure of Health Info signed | Type the date the patient signed this document or click the calendar icon to select a date. | 10 | |
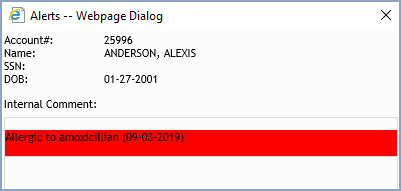
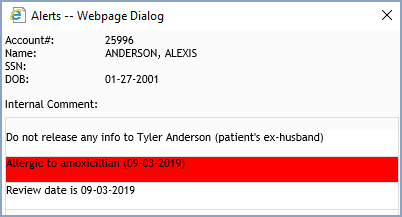
| Exclusions/Alerts | Type any additional information needed regarding this patient pertaining to HIPAA regulations. If you type anything in this field, the Alerts dialog box will display, indicating the HIPAA Alert, each time you access the patient's account. | 50*4 | |
| PHI Release: Name | Type the individual's name the patient has indicated to release/deny access to their Private Health Information (PHI). | 20 | |
| Release/Deny: | Select the option applicable for this individual. | 1 | |
| Identifier: Mothers Maiden Name | Type the maiden name of the patient's mother. Every Identifier field is provided for you to capture information that may be used to confirm your patient's identity prior to disclosing their health information. | 15 | |
| Identifier: City of Birth | Type the patient's city of birth. | 15 | |
| Identifier: Favorite Color | Type the patient's favorite color. | 15 | |
| Identifier: Optional | Type any additional identifier text applicable. | 15 | |
| Identifier: Optional | Type any additional identifier text applicable. | 15 |

| Prompt | Response | Req | Len |
|---|---|---|---|
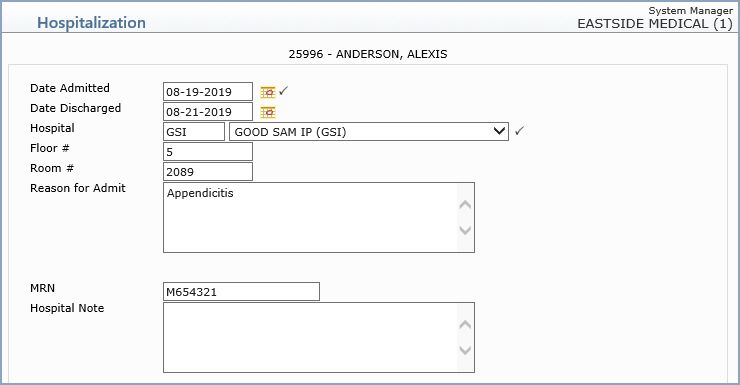
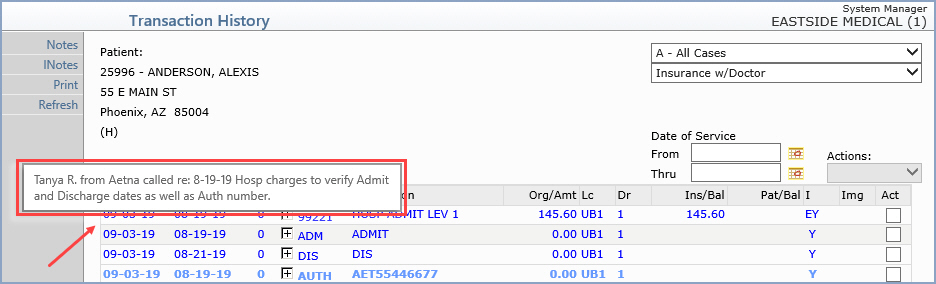
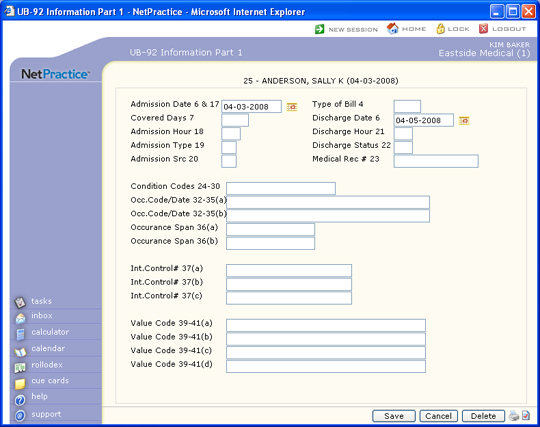
| Date Admitted | Type the date the patient was admitted to the hospital or click the calendar icon to select a date. | |
10 |
| Date Discharged | Type the date the patient was discharged from the hospital or click the calendar icon to select a date. | 10 | |
| Hospital | Type the hospital location code or select a code from the Hospital list. The only codes displayed in the list are inpatient or outpatient location codes that contain an equivalent location code of twenty-one (21), twenty-two (22), thirty-one (31), fifty-one (51), or sixty-one (61) in the Location Code Table. | |
5 |
| Floor # | Type the hospital floor number assigned to this patient. | 10 | |
| Room # | Type the hospital room number assigned to this patient. | 10 | |
| Reason for Admit | Type the reason the patient was admitted to the hospital. | 50*5 | |
| MRN | Type the Medical Record Number assigned by the hospital for this patient. | 20 | |
| Hospital Note | Type any applicable hospital note text. | 50*5 |
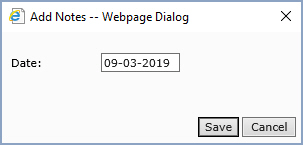
| Prompt | Response | Req | Len |
|---|---|---|---|
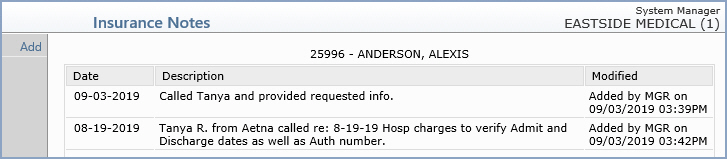
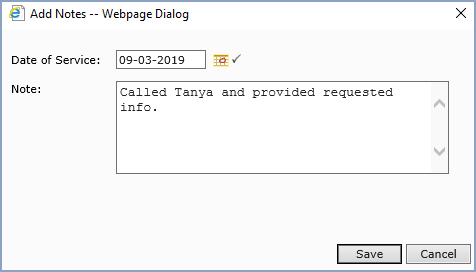
| Date of Service | Type the date of service or click the calendar icon to select a date. | |
10 |
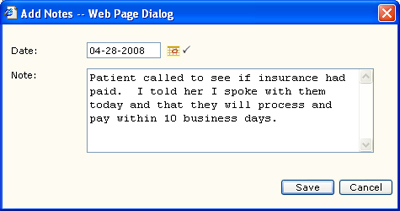
| Note | Type any applicable note text. | 10 |


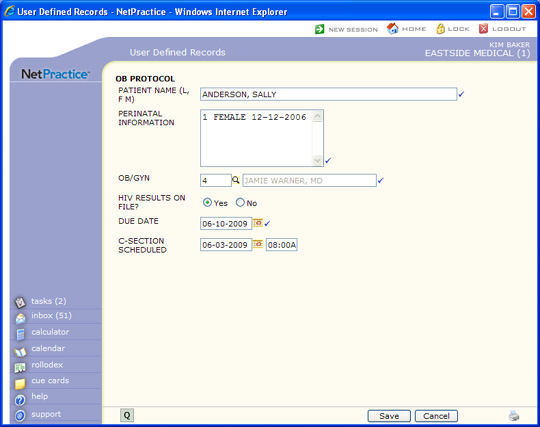
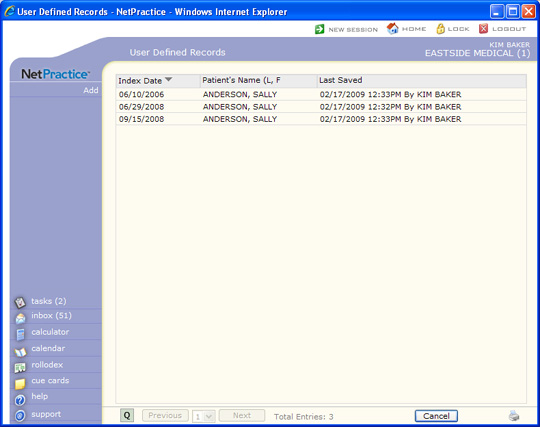
Custom Form
You can use these custom records to store information based on the custom
forms you create with the Form
Generator function. These forms display with Custom next to
the Description.
The screen that displays when you select a custom form depends on the Storage Strategy you selected when creating the form in the Form Generator. The Storage Strategy cannot be changed after the form is created; you would need to create a new form.
Copyright and Trademark Notice. Copyright © 2019 CompuGroup Medical, Inc. CGM®, CompuGroup Medical® and the CGM logo are registered trademarks and CGM webPRACTICE™ and CGM webTOOLS™ are trademarks of CompuGroup Medical AG in the United States and/or other countries. Any rights not expressly granted herein are reserved.
