![]()
| Prompt | Response | Req | Len |
|---|---|---|---|
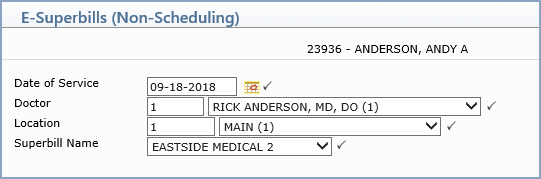
| Date of Service | Type the date you want or click the calendar icon to select a date. |  |
10 |
| Doctor | Type the code you want or select from the list. | |
4 |
| Location | Type the code you want or select from the list. | |
6 |
| Superbill Name | Select the Superbill Name for this E-Superbill. | |
20 |
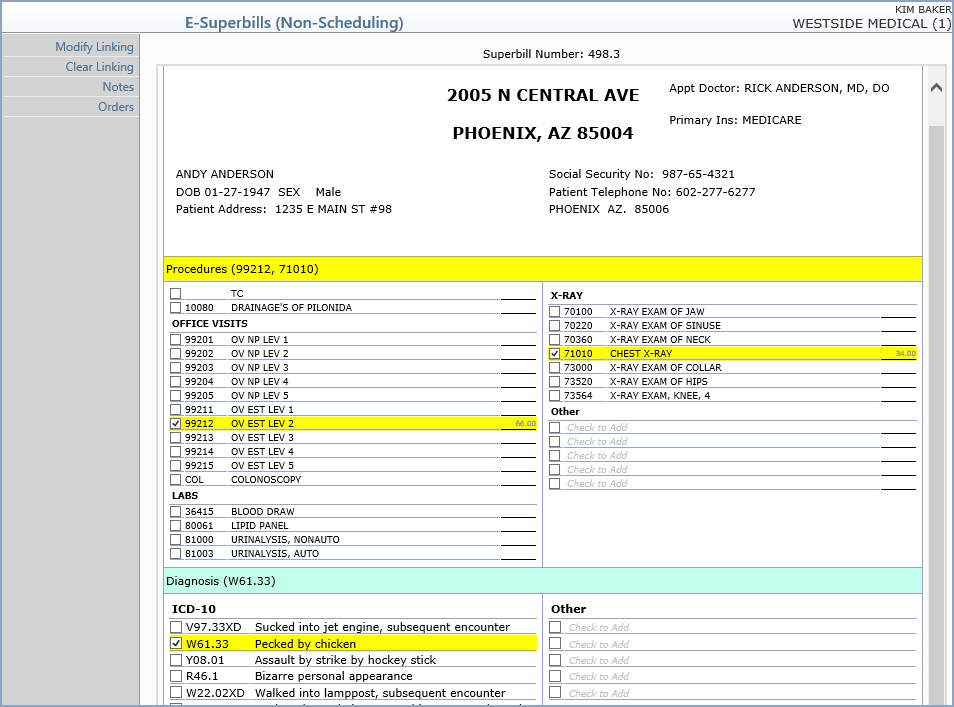
Select Procedure Codes - To select a procedure code within any category on the superbill, select the check box next to the code. The selected codes will be listed in the Procedures Header section in the order that you select them and they will be highlighted within the superbill so you can quickly see every code selected.
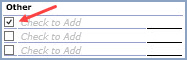
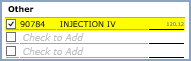
If the code you need is not listed on the superbill, select one of the
check boxes under the Other category.
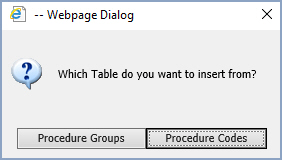
Select which Table you want select the procedure code from.
Depending on which table you selected, type the procedure or procedure
group code you want or click the magnifying glass to search the table.
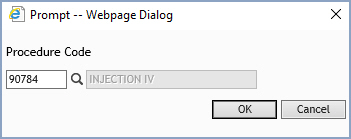
The code will be inserted in the Other section.
If you select a Procedure Group code, the individual procedure codes
contained in the group will not immediately display in the E-Superbill
because they are stored internally. To view the individual codes, you
must first Save the E-Superbill and then re-access it from the
Detailed Patient Check In/Out screen. Each of the codes will be listed
under the Other category.
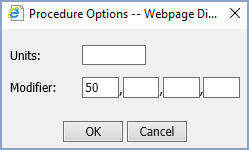
You can add Units and/or Modifiers to a procedure code by
clicking the description of the code. You can type up to seven digits
in the Units field.
If the patient's appointment contains an Authorization, an AUTH
procedure code will automatically be stored as an unposted procedure along
with the other procedures selected.
If the superbill contains a Fee Column, it displays the price for
each selected procedure. The prices will always be based on the current
effective date for the date of service and procedure code entered. If
a date of service does not fall within an applicable procedure code effective
date, the price for the current effective date will be used. If additional
units are entered for any procedure, the new price is calculated and displayed
in the Fee Column. To use the Fee Column, access the Superbill Wizard, select
the superbill, click Procedures in the Action Column, select Options
in the Action Column and select the Show Fee Column check box.
Select Diagnosis Codes - To select a diagnosis code within any
category on the superbill, select the check box next to the code. The
selected codes will be listed in the Diagnosis Header section in the order
that you select them and they will be highlighted within the superbill
so you can quickly see every code selected. The diagnosis codes will be
linked to the procedure codes based on the order you select them.
If the code you need is not listed on the superbill, select one of the
check boxes under the Other category.
Type the diagnosis code you need or click the magnifying glass to search
the table.
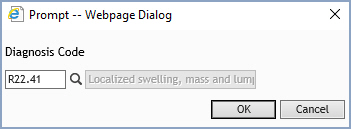
The code will be inserted in the Other section.

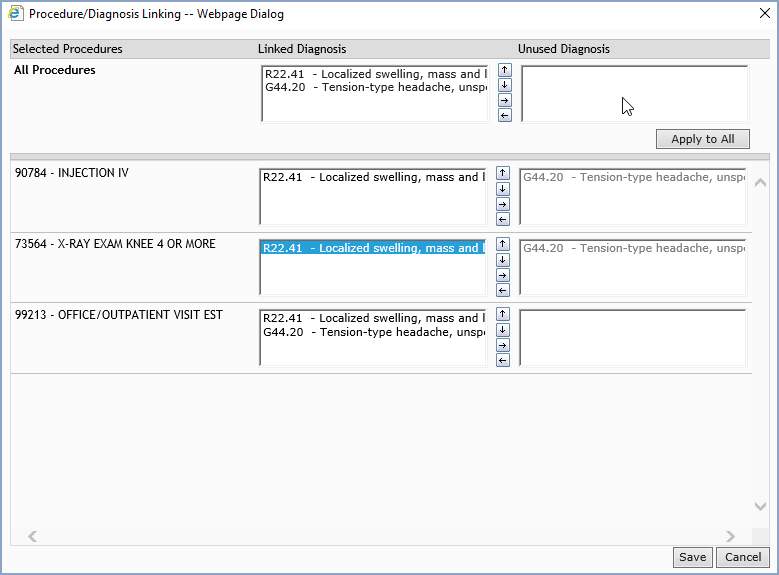
Modify Linking - You can change the order the diagnosis codes are linked to the procedure codes using this function. After you have selected all the procedure and diagnosis codes for the superbill, you can click Modify Linking in the Action Column if you need to change the linking order. The Procedure/Diagnosis Linking window is separated into two sections; All Procedures and individual procedures. You can make changes to the linking and apply them to all the procedure codes at one time or you can make changes to each individual code as needed. Every diagnosis code you selected in the E-Superbill will be listed in the Linked Diagnosis box. The diagnosis at the top of the list represents the primary diagnosis. To move a diagnosis code you must first select it by clicking it. Then you can use the directional arrows provided to make the necessary linking changes.
|
- Click to move the diagnosis code up one line in the list. |
|
- Click to move the diagnosis code down one line in the list. |
|
- Click to move a diagnosis code from the Linked Diagnosis list to the Unused Diagnosis list. |
|
- Click to move a diagnosis code from the Unused Diagnosis list to the Linked Diagnosis list. |
If you make changes in the All Procedures section, you will need to click Apply to All first and then click Save. After the changes have been saved, the Modify Linking function will be inactive in the Action Column. If you need to make any additional changes you must use the Clear Linking function first, which will re-set the linking back to the original order when you selected the diagnosis codes in the E-Superbill.
Clear Linking - You can delete any previous changes made through
the Modify Linking function and re-set the linking back to the
original order you selected the diagnosis codes in the E-Superbill.
Notes - You can add notes for this E-Superbill to provide information or follow-up instructions to your front office or billing staff.
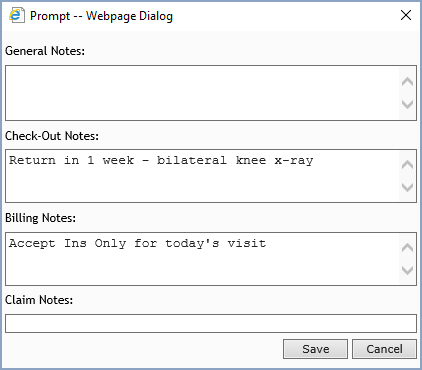
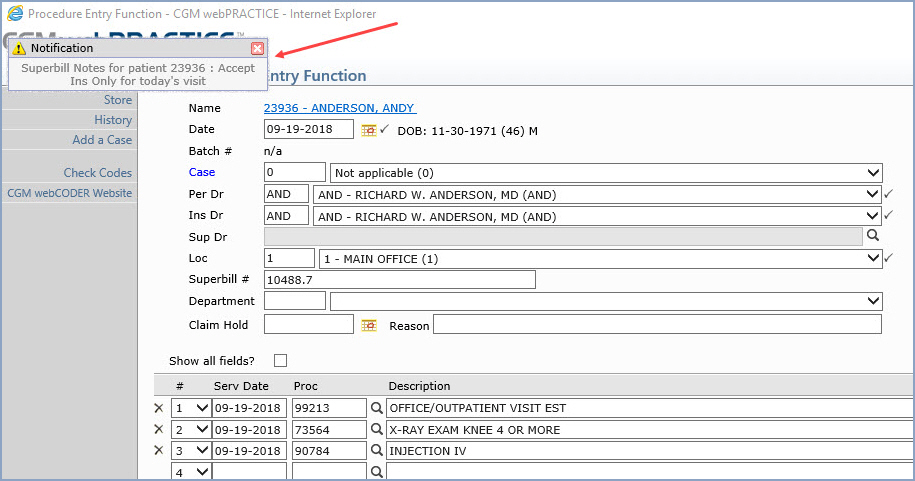
The notes also appear when you view the E-Superbill image from the Patient's Transaction History.
Copyright and Trademark Notice. Copyright © 2019 CompuGroup Medical, Inc. CGM®, CompuGroup Medical® and the CGM logo are registered trademarks and CGM webPRACTICE™ and CGM webTOOLS™ are trademarks of CompuGroup Medical AG in the United States and/or other countries. Any rights not expressly granted herein are reserved.
