

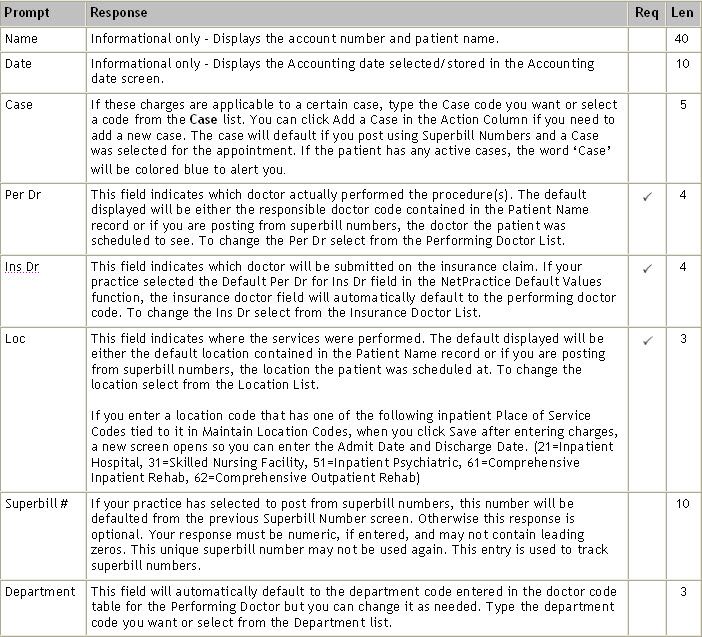
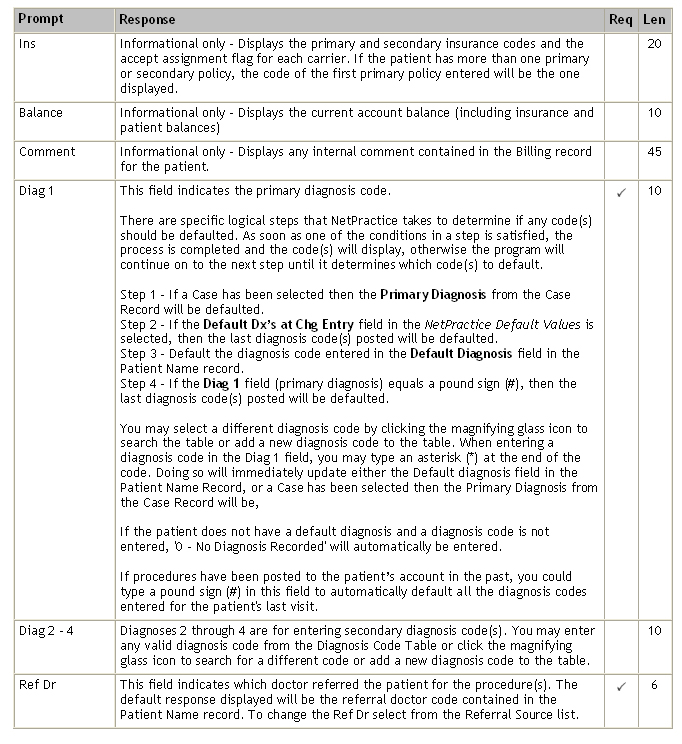
| Prompt | Response | Req | Len |
|---|---|---|---|
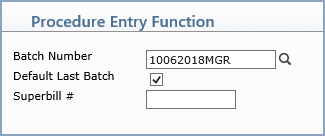
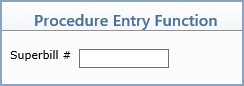
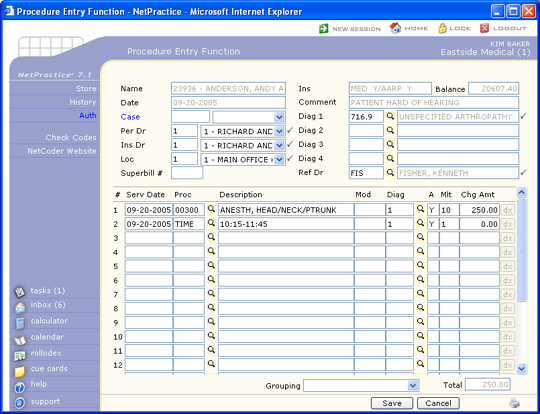
| Superbill # | Type the applicable superbill number. If you type a superbill number that is invalid or one that CGM webPRACTICE cannot identify, a No Superbill Number found, manual entry required message displays and the patient look-up screen displays so you can proceed. The superbill number you typed in then defaults in the Superbill # field on the Procedure Entry detail screen. | 10 |


| Prompt | Response | Req | Len |
|---|---|---|---|
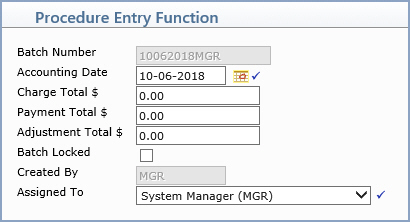
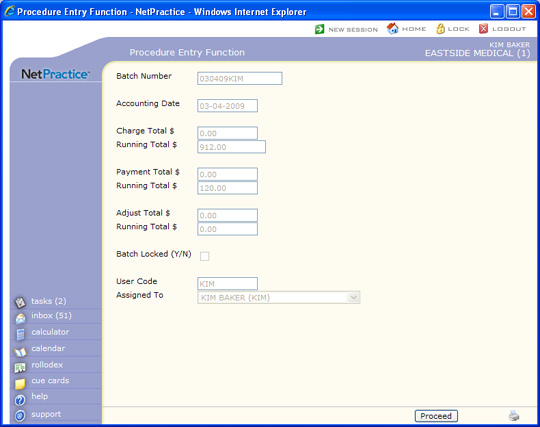
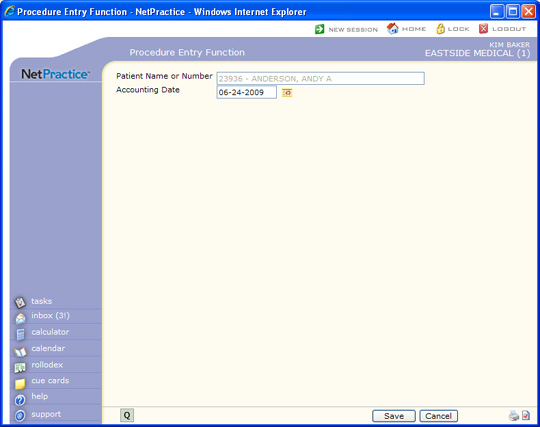
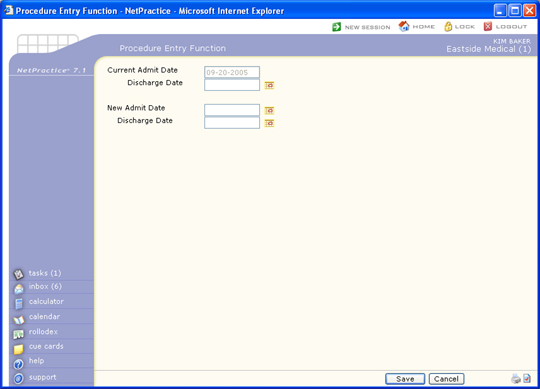
| Accounting Date | Type the Accounting date or click the calendar icon to select a date. If you are using Batch numbers, this field will be the date stored for the Batch you will not be allowed to change it. If you are not using a batch, the default date displayed will be the current system date or the accounting date of the last procedure entered, which may be changed if necessary. | 10 |
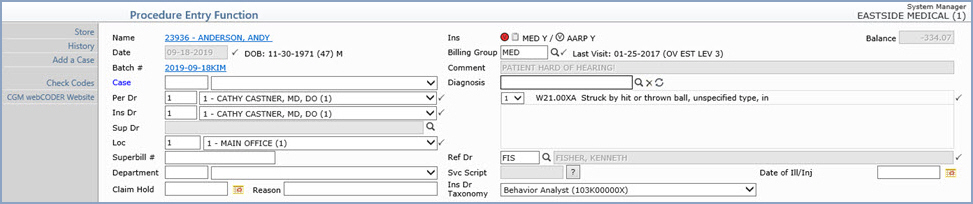
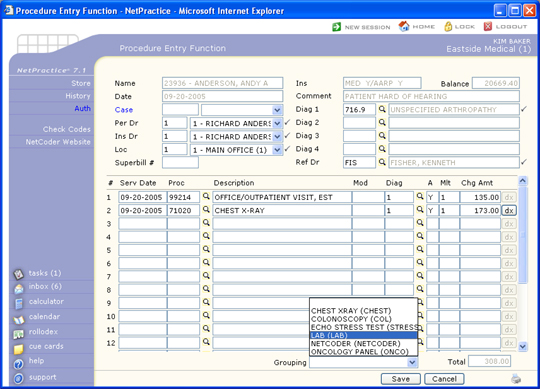
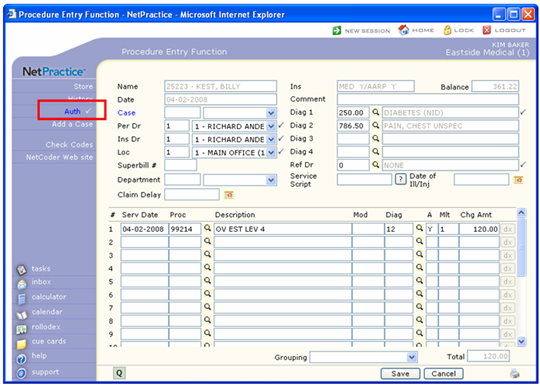
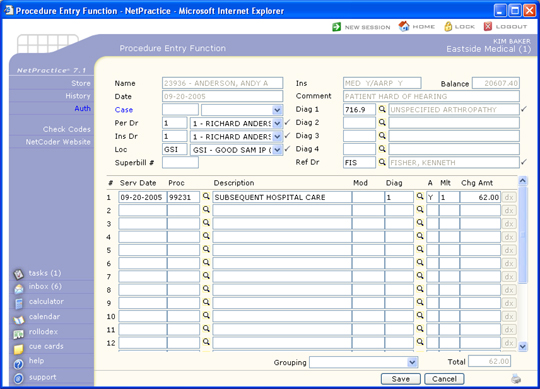
If diagnosis codes have been entered in the top portion of the screen, up to four diagnosis pointers will be inserted for the procedure line item, in the same order they were entered in the top portion of the screen.
Copyright and Trademark Notice. Copyright © 2019 CompuGroup Medical, Inc. CGM®, CompuGroup Medical® and the CGM logo are registered trademarks and CGM webPRACTICE™ and CGM webTOOLS™ are trademarks of CompuGroup Medical AG in the United States and/or other countries. Any rights not expressly granted herein are reserved.
![]()